Set up Serial Devices
You can set up Serial Device settings for direct data entry from
- a device connected to the computer's serial port.
- a device that is connected to the computer's USB port but emulates a serial port.
![]() Google Chrome and Microsoft Edge are the only browsers that allow serial port access.
Google Chrome and Microsoft Edge are the only browsers that allow serial port access.
Creating, editing, or viewing Serial Devices
To create or edit a Serial Device:
- On the navigation menu
 , expand the Setup
  section. Then select Serial Devices.
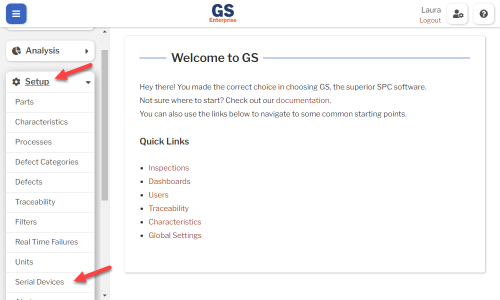
- This displays a list of all the Serial Devices.
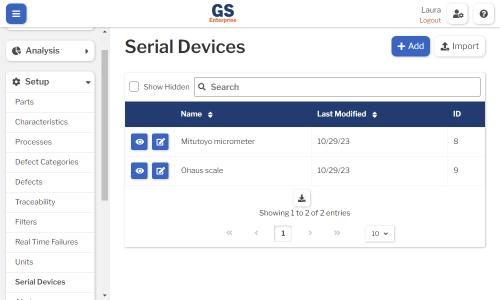
- To create a Serial Device, select the Add button.
- To edit a Serial Device, select the Edit
 button for that Serial Device.
 - To view a Serial Device, select the View
 button for that Serial Device.
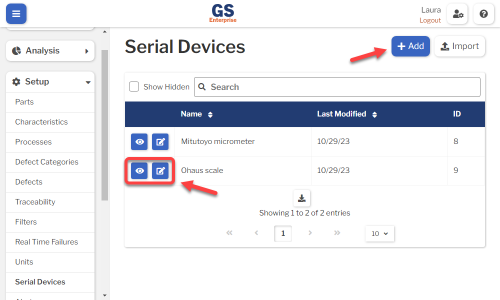
- To edit a Serial Device, select the Edit
- Set or change the Required settings (below) for that Serial Device.
- Set or change the Optional settings (below) for that Serial Device.
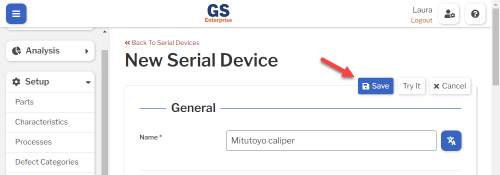
- Select the Save button at the top or bottom of the page to save your changes.
Required settings
Name
- You can use this to identify a single device or a family of devices with identical settings.
- You can translate this into another language (Spanish or English).
- This must be different from the Names of all other Serial Devices.
End Of Line String
- Choose the option that matches your device documentation.
Filter Devices
The first time GS uses a Serial Device on the computer, the browser will ask the inspector to choose the appropriate serial port from a window like this:
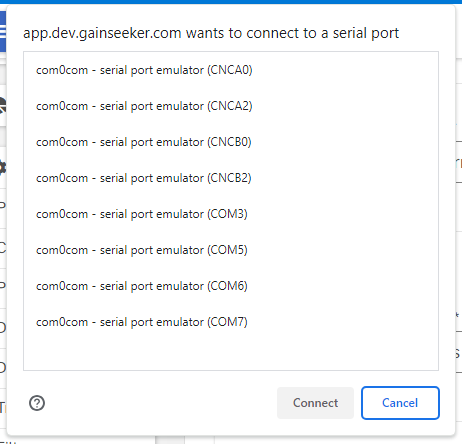
You can use this setting to filter this list of serial ports before displaying it to the inspector.
- To filter the list of serial ports displayed to the inspector, set the Filter to Yes and then enter the Vendor ID and optional Product ID.
- The easiest way to find the Vendor ID and Product ID is to connect the device to the computer, select the Fill From Device button, and then select the appropriate serial port. GS will automatically enter the Vendor ID Filter and Product ID Filter from the device on the serial port you selected.
- The Vendor ID and Product ID may also be available in your device documentation.
Connection Settings
- Set these to match your device documentation for Baud Rate, Data Bits, Flow Control, Parity, and Stop Bits.
- For a device that may overflow the computer's serial buffer by sending verbose text or high-speed communication, you can increase the Buffer Size setting.
Advance to Next Test After Reading
- This setting applies to a sub-inspection with multiple SPC Tests.
- Choose Yes to advance to the next SPC Test after each reading.
- Choose No to advance to the next measurement in the current SPC Test.
Also Allow Keyboard Input
- Choose Yes to let the inspector manually enter measurements if direct entry from the device is temporarily unavailable.
Send Command to Device Before Reading
- If your device needs the computer to send a string before the reading is taken, choose Yes and enter the Command To Send. This should be indicated in your device documentation.
- If the device doesn't have a way to send the reading — for example, a "Send" button or a footswitch — set Require Operator Interaction to Yes. This lets the inspector trigger the reading by selecting a button on the computer that sends the Command to Send to the device.
- You can change the text on this button by setting a Custom Operator Interaction Prompt. You can translate this into another language (Spanish or English).
Send Command to Device After Reading
- If your device needs the computer to send a string immediately after the reading is taken, choose Yes and enter the Command To Send. This should be indicated in your device documentation.
Parse Value From Reading
- To use the first number in the serial string as the measurement, choose No.
- To use a different number in the serial string, choose Yes. Then select how to Split the the serial string into columns and which Column contains the measurement.
Optional settings
Hide in Lists
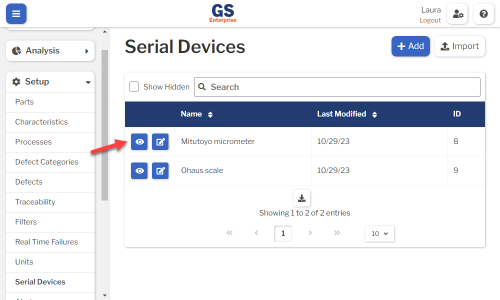
- When a Serial Device is no longer active, you can set Hide in Lists to Yes.
- This will hide the Serial Device from all lists of Serial Devices in GS, while preserving any data that was already entered for this Serial Device. Users can still enter data for a hidden Serial Device if an existing Inspection specifies this Serial Device.
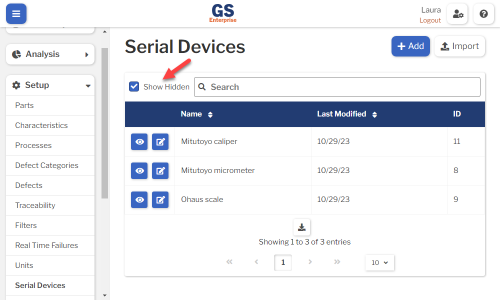
- If you have hidden a Serial Device, you can always view it again by selecting the Show Hidden checkbox.
- To un-hide a Serial Device, set Hide in Lists to No.
Custom Waiting for Reading Prompt
- You can change the message displayed to the inspector when the inspection is waiting for them to trigger a send from the device — for example, using a "Send" button or a footswitch.
- You can translate this into another language (Spanish or English).
Testing the Serial Device
When the device is connected to your computer, you can select the Try It button at the top or bottom of the page to read a sample measurement from your device.
The first time you use this Serial Device on a computer, the browser will ask you to choose the appropriate serial port from a window like this:
If you selected the wrong serial port:
- Select the Save button at the top or bottom of the page to save any changes to your Serial Device.
- Follow these instructions to release that port and pick a different one.
- Reload this page in your browser.
While testing your device, you can change from Show Full Reads to Show Partial Reads if the End of Line String is set incorrectly or has not yet been received from the device.
Translating text into another language
To translate a text field into another language (Spanish or English), select its Translate ![]() button.
button.
![]()
Enter your translated text, then select the Save button at the top or bottom of the window.
![]()
For more information on translating text fields and changing the language displayed to the user, see Custom Translations.
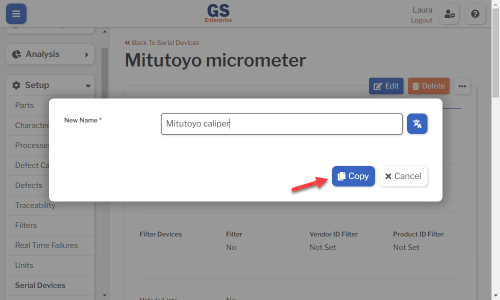
Copying a Serial Device
You can copy a Serial Device and all of its settings to a new Serial Device name.
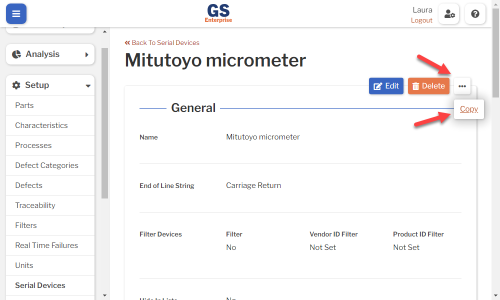
- On the list of Serial Device, select the View button for the Serial Device you want to copy.
- Select the More Actions
 button and then select Copy.
- Enter a New Name for the new Serial Device, and then select the Copy button.
- Edit any settings for this new Serial Device.
Using a spreadsheet to create and edit Serial Devices
You can use a spreadsheet (.csv file) to create or edit multiple Serial Devices and then import them. This can be much faster and easier than creating or editing those Serial Devices one at a time in GS.
Deleting a Serial Device
When a Serial Device becomes inactive, you will typically Hide it in Lists.
However, if you are sure that the Serial Device is not used by any inspections, you can delete it. (Running an inspection that references a deleted Serial Device will generate errors.)
- On the list of Serial Devices, select the View button for the Serial Device you want to delete.
- Then select the Delete button
 at the top of the page.