Set up Workstations
Introduction to Workstations
Workstations (optional) can be assigned to physical computers that enter data into GS.
- You can set up each Workstation to automatically set certain traceability values — such as a Line or Machine — every time data is entered from that Workstation.
- Workstations can also set display preferences for the login Company ID prompt and scripting code.
After creating a Workstation in GS, you can link that Workstation to a physical computer by going to that computer and setting its Workstation settings.
Creating, editing, or viewing Workstations
To create, edit, or view a Workstation:
- On the navigation menu
 , expand the Setup
  section. Then select Workstations.
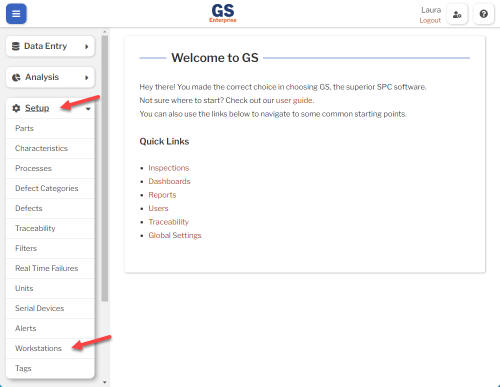
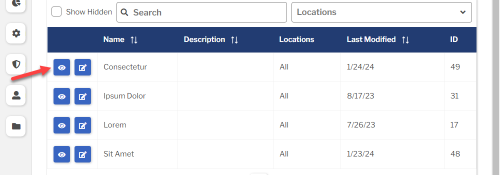
- This displays a list of all the Workstations.
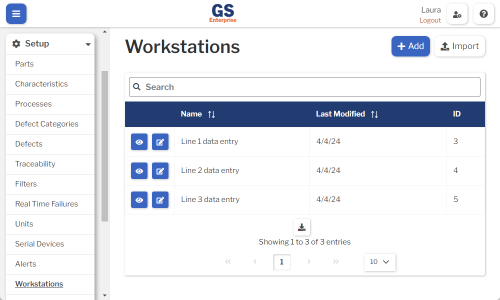
- To create a Workstation, select the Add button.
- To edit a Workstation, select the Edit
 button for that Workstation.
 - To view a Workstation, select the View
 button for that Workstation.
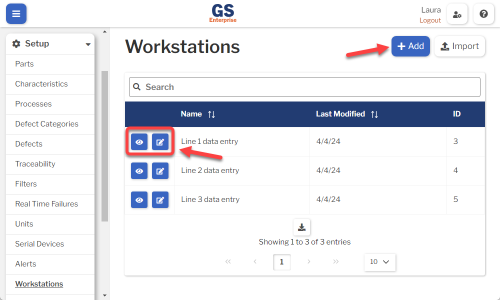
- To edit a Workstation, select the Edit
- Set or change the Required settings (below) for that Workstation.
- Set or change the Optional settings (below) for that Workstation.
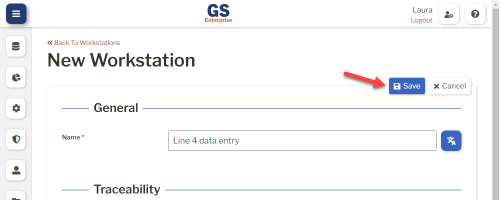
- Select the Save button at the top or bottom of the page to save your changes.
Required settings
Name
Each Workstation must have a unique name.
You can translate this into another language (Spanish or English).
Optional settings
Traceability
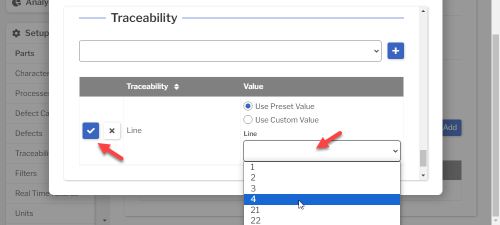
- For a data entry Workstation, you can preset any Traceability field as appropriate.
- For example, if this Workstation only enters data for Line 4, you can preset the "Line" Traceability to 4.
- This makes it easy to to automatically set certain traceability values, such as a Line or Machine, every time data is entered on this Workstation.
- To set traceability:
- Select the traceability and then select the Add
 button.
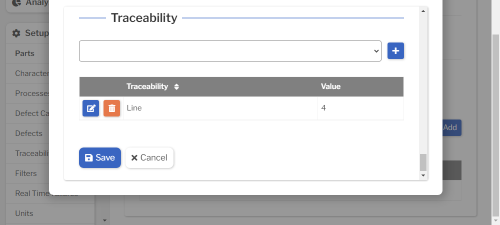
- Select a Preset value or enter a Custom value, then select the Confirm
 button.
- You can repeat these steps to set more traceability values.
- Select the traceability and then select the Add

Linking a GS Workstation to a physical computer
To link a Workstation to a physical computer, go to that computer and set its Workstation settings.
Multiple computers can be linked to the same Workstation, if needed.
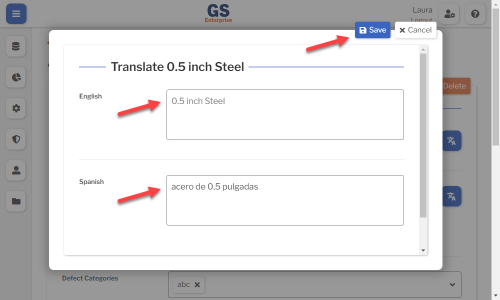
Translating text into another language
- To translate a text field into another language (Spanish or English), select its Translate
 button.

- Enter your translated text, then select the Save button at the top or bottom of the window.
- For more information on translating text fields and changing the language displayed to the user, see Custom Translations.
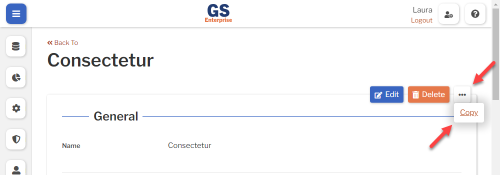
Copying a Workstation
You can copy a Workstation — including all of its settings — to a new Workstation name. To do so:
- On the list of Workstations, select the View button for the Workstation you want to copy.
- Select the More Actions
 button and then select Copy.
- Enter a New Name for the new Workstation, and then select the Copy button.
- Edit any settings for this new Workstation.

Using a spreadsheet to create and edit Workstations
You can use a spreadsheet (.csv file) to create or edit multiple Workstations and then import them.
This can be much faster and easier than creating or editing those Workstations one at a time in GS.
Deleting a Workstation
![]() You should only delete Workstations that are not used by any physical computers.
You should only delete Workstations that are not used by any physical computers.
To delete a Workstation that is not being used:
- On the list of Workstations, select the View button for the Workstation you want to delete.
- Then select the Delete button
 at the top of the page.