Set up Real Time Failure Groups
Each Real Time Failure Group is a collection of real-time checks — such as SPC measurement data being out of spec or out of control, or DMS defect data having a yield below an acceptable limit — for data being entered.
You can assign Real Time Failure Groups to Characteristics and Processes. This determines which real-time checks may display a message to the data entry inspector and send alerts to others via text or email.
Creating, editing, or viewing Real Time Failure Groups
- You can create or edit a Real Time Failure Group from the list of all Real Time Failure Groups in GS.
- You can also create new Real Time Failure Groups from a Characteristic or Process window.
- To start from the list of all Real Time Failure Groups in GS:
- On the navigation menu
 , expand the Setup
  section. Then select Real Time Failures.
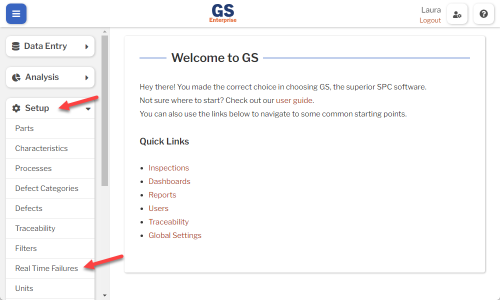
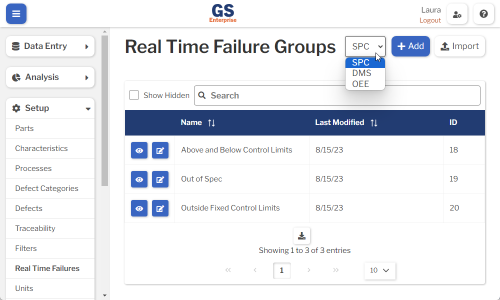
- This displays a list of all the Real Time Failure Groups for SPC measurement data.
- For DMS or OEE Real Time Failure Groups, select the type of data from the list.
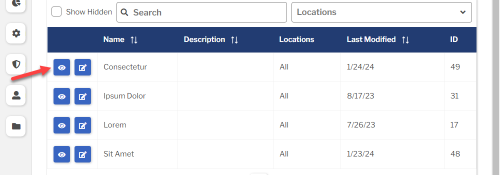
- To create a Real Time Failure Group, select the Add button.
- To edit a Real Time Failure Group, select the Edit
 button for that Real Time Failure Group.
 - To view a Real Time Failure Group, select the View
 button for that Real Time Failure Group.
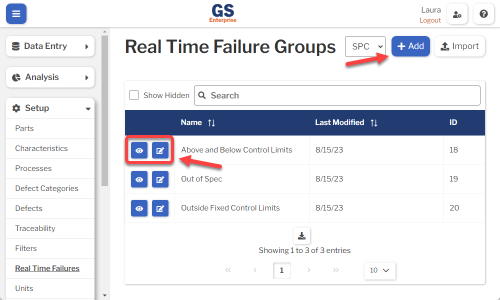
- To edit a Real Time Failure Group, select the Edit
- Set or change the Required settings (below) for that Real Time Failure Group.
- Set or change the Optional settings (below) for that Real Time Failure Group.
- Save your changes.
Required settings
Name
Each Real Time Failure Group must have a unique name.
You can translate this into another language (Spanish or English).
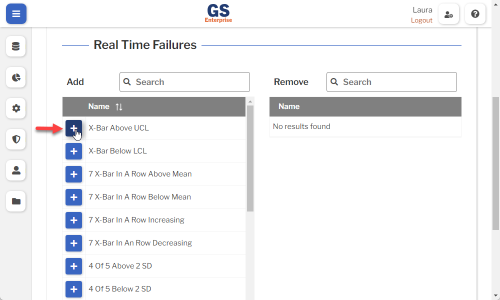
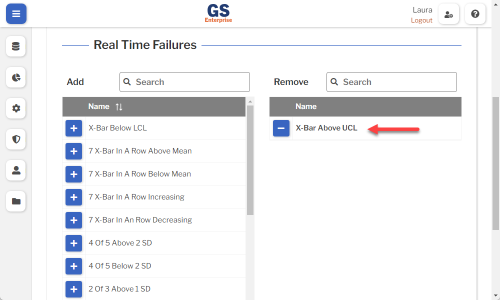
Real Time Failures
You must add at least one real time check to this group.
- Select
 to add a real time check to this group.
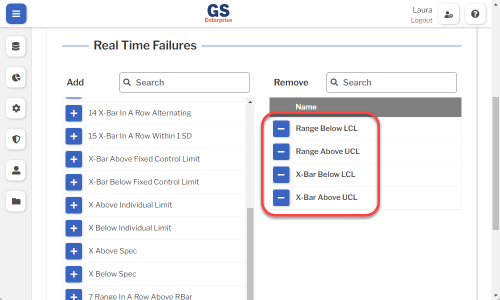
- (optional) Add other real time checks to the group.
Optional settings
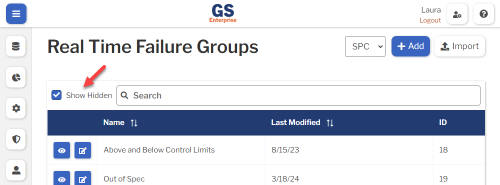
Hide in Lists
- When a Real Time Failure Group is no longer active, you can set Hide in Lists to Yes.
- This will hide the Real Time Failure Group from all lists of Real Time Failure Groups in GS, while preserving any data that was already flagged with failures using this Real Time Failure Group. Users can still enter data that is flagged with failures for a hidden Real Time Failure Group if existing Characteristics or Processes specify this Real Time Failure Group.
- If you have hidden a Real Time Failure Group, you can always view it again by selecting the Show Hidden checkbox.
- To un-hide a Real Time Failure Group, set Hide in Lists to No.
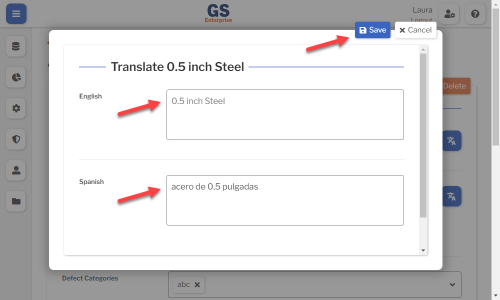
Translating text into another language
- To translate a text field into another language (Spanish or English), select its Translate
 button.

- Enter your translated text, then select the Save button at the top or bottom of the window.
- For more information on translating text fields and changing the language displayed to the user, see Custom Translations.
Copying a Real Time Failure Group
You can copy a Real Time Failure Group — including all of its settings — to a new Real Time Failure Group name. To do so:
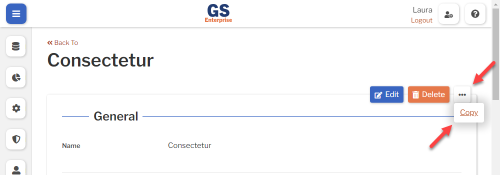
- On the list of Real Time Failure Groups, select the View button for the Real Time Failure Group you want to copy.
- Select the More Actions
 button and then select Copy.
- Enter a New Name for the new Real Time Failure Group, and then select the Copy button.
- Edit any settings for this new Real Time Failure Group.

Using a spreadsheet to create and edit Real Time Failure Groups
You can use a spreadsheet (.csv file) to create or edit multiple Real Time Failure Groups and then import them.
This can be much faster and easier than creating or editing those Real Time Failure Groups one at a time in GS.
Deleting a Real Time Failure Group
When a Real Time Failure Group becomes inactive, you will typically Hide it in Lists.
However, if the Real Time Failure Group is not assigned to any Characteristics or Processes, you can delete that Real Time Failure Group:
- On the list of Real Time Failure Groups, select the View button for the Real Time Failure Group you want to delete.
- Then select the Delete button
 at the top of the page.