Set up Processes
- Processes are required for both SPC measurement data and DMS data (Defect List Tests, Pass/Fail Tests, and Rating Tests).
- You must have at least one Process in GS.
- One process called "Final Inspection" is created for you, but you can change its name and add other Processes.
Creating, editing, or viewing Processes
To create, edit, or view a Process:
- On the navigation menu
 , expand the Setup
  section. Then select Processes.
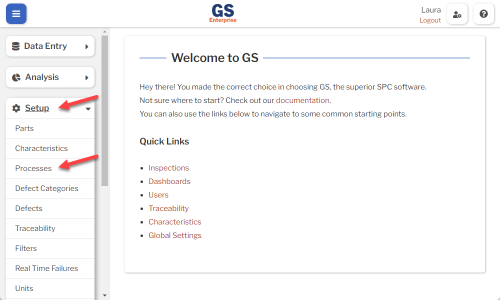
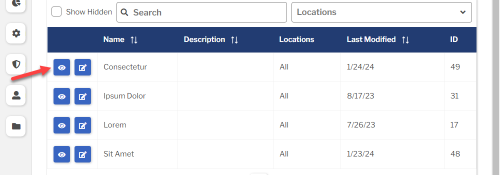
- This displays a list of all the Processes.
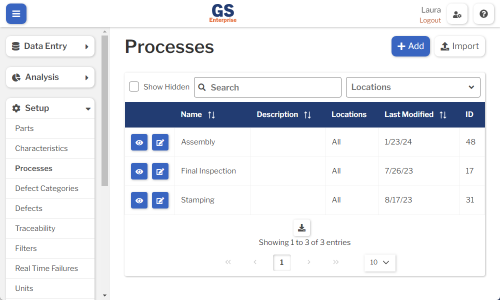
- To create a Process, select the Add button.
- To edit a Process, select the Edit
 button for that Process.
 - To view a Process, select the View
 button for that Process.
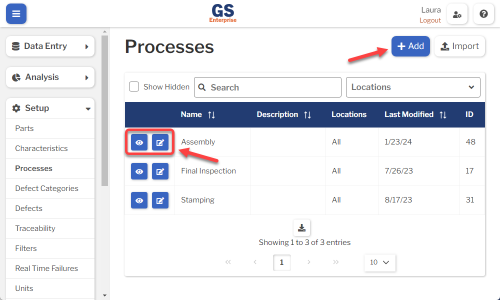
- To edit a Process, select the Edit
- Set or change the Required settings (below) for that Process.
- Set or change the Optional settings (below) for that Process.
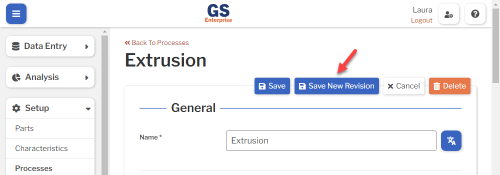
- Save your changes.
- If you changed any values in Process, OEE Acceptable Values, or OEE Goal Values, you have the option to save a New Revision of that Process.
- If data is retrieved from more than one Revision, each revision is analyzed separately on charts and statistics.
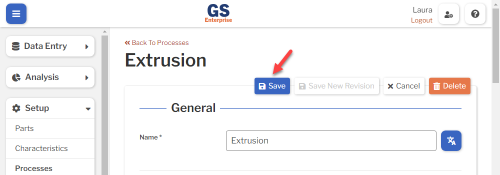
- To save all of your changes as the current revision of the Process, select the Save button at the top or bottom of the page.
- If you changed any values in Process, OEE Acceptable Values, or OEE Goal Values, you have the option to save a New Revision of that Process.
Required settings
Name
- Each Process must have a unique name.
- You can translate this into another language (Spanish or English).
NCU Cost
- This is the cost of one nonconforming unit (defective part) produced by this Process.
- This value will be stored in DMS data records for this Process, so changing this value will only affect new data records (and not existing data).
- If this is set to 0, you can't perform Cost analysis for this Process.
Sample Size
- The number of of physical parts you will inspect at one time. This is typically set by your Sampling Plan.
- If you don't use a consistent Sample Size, set this to 0. This will force the inspector to enter the Sample Size each time they enter data.
Optional settings
Description
- A description or notes about this Process.
- It is displayed only on this Setup Process page.
- You can translate this into another language (Spanish or English).
DMS Real Time Failure Groups
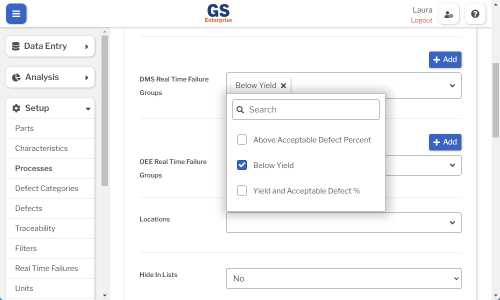
- To alert the inspector when the Sample they just entered is below the Acceptable Yield or above the Acceptable Defect Percent, select the DMS Real Time Failure Groups list and select the failure groups you need. You can also set up Alerts to send email or text messages when these real time failures occur.
- Each DMS Real Time Failure Group is a collection of real-time checks.
- If the DMS Real Time Failure Group you need isn't listed, you can create a new DMS Real Time Failure Group:
-
- Select the Add button
 to create a new failure group.
- You can also add failure groups to this list by selecting the navigation menu , expanding the Setup section, selecting Real Time Failures, and changing from SPC to DMS.
- You can also add failure groups to this list by selecting the navigation menu
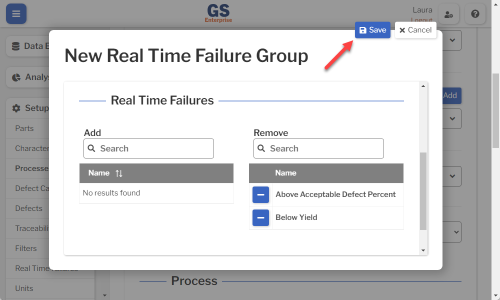
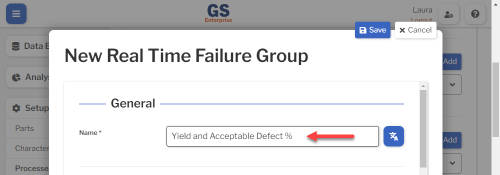
- Enter a Name for this real time failure group.
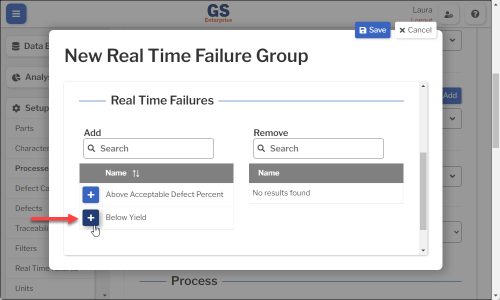
- In the Real Time Failures section, select
 to add a real-time check to this group.
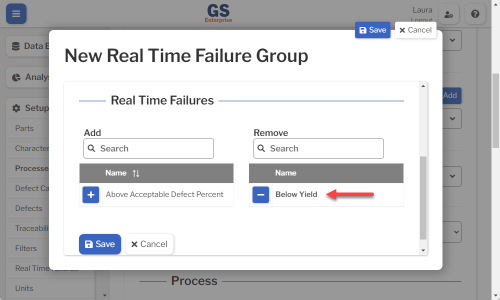
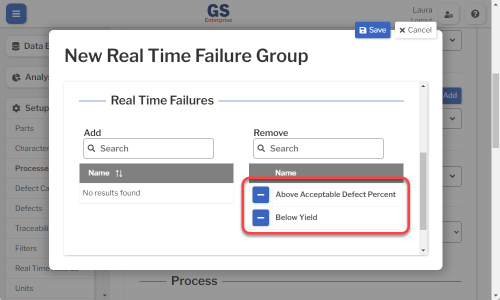
- Add other real-time checks for the group.
- When finished, select the Save button at the top or bottom of the page.
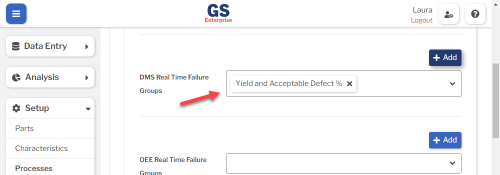
- The new real-time failure group is applied to the Process you are creating or editing. You can also apply it to other Processes.
- Select the Add button
-
OEE Real Time Failure Groups
- This is the same as DMS Real Time Failure Groups above but alerts the inspector when the Sample they just entered is below OEE Acceptable Values.
- * Not shown in GS Essential.
Locations
- If you want to limit which Locations can access this Process for data entry and analysis, select them here.
- To let all Locations access this Process, leave this blank.
- * Not shown if you only have one Location.
- * Not shown in GS Essential.
Hide in Lists
- When a Process is no longer active, you can set Hide in Lists to Yes.
- This will hide the Process from all lists of Processes in GS, while preserving any data that was already entered for this Process. Users can still enter data for a hidden Process if existing Inspection properties or Test properties specify this Process.
- If you have hidden a Process, you can always view it again by selecting the Show Hidden checkbox.

- To un-hide a Process, set Hide in Lists to No.
Acceptable Defect Percent
- For each Sample that is entered, GS will report the following:
-
- Sum Defects : the total count of defects found in the Sample
- Sample Size : the number of of physical parts inspected
- Percent Defects : calculated as Sum Defects / Sample Size
-
- You can set an Acceptable Defect Percent as the maximum acceptable Percent Defects for each Sample entered for this Process.
- If you enable a DMS Real Time Failure Group that checks for Above Acceptable Defect Percent, GS will check each Sample during data entry to detect whether Percent Defects is greater than this Acceptable Defect Percent.
Acceptable Yield and Goal Yield
- For each Sample that is entered, GS will report the following:
-
- Sample Size : the number of of physical parts inspected
- Sum Good : the number of good parts in the Sample, calculated as Sample Size - NCU
-
- GS will also calculate the Yield for each Sample as (Sum Good / Sample Size) * 100%
-
- You can set an Acceptable Yield as the minimum acceptable Yield for each Sample entered for this Process.
- If you enable a DMS Real Time Failure Group that checks for Below Yield, GS will check each Sample during data entry to detect whether its Yield is lower than this Acceptable Yield.
- You can also set a Goal Yield for each Sample entered for this Process.
- You can set an Acceptable Yield as the minimum acceptable Yield for each Sample entered for this Process.
-
OEE Acceptable and OEE Goal
- For each OEE data record, GS will report values for Availability, Performance, Quality, and Overall OEE.
- You can set minimum Acceptable values for each OEE data record entered for this Process.
- If you enable an OEE Real Time Failure Group that checks for these values, GS will check each OEE Test during data entry to detect whether the Test's values are lower than these Acceptable values.
- You can also set Goal values for each OEE data record entered for this Process.
- * Not shown in GS Essential.
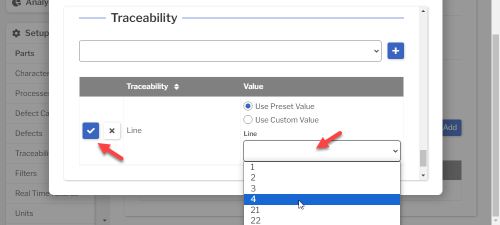
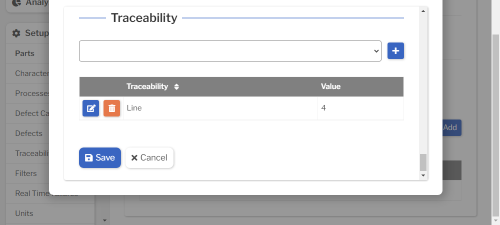
Traceability
- You can preset any Traceability field as appropriate for this Process.
- For example, if this Process only occurs on Line 4, you can preset the "Line" Traceability to 4.
- This makes it easy to to automatically set certain traceability values, such as a Line or Machine, every time data is entered for this Process.
- To set traceability:
- Select the traceability and then select the Add button.
- Select a Preset value or enter a Custom value, then select the Confirm
 button.
- You can repeat these steps to set more traceability values.
- Select the traceability and then select the Add

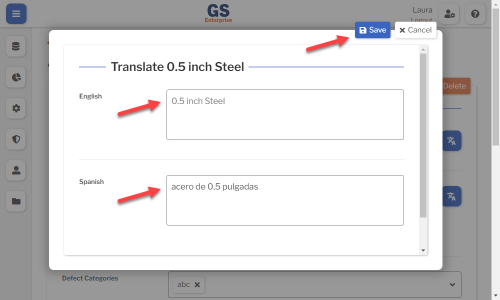
Translating text into another language
- To translate a text field into another language (Spanish or English), select its Translate
 button.

- Enter your translated text, then select the Save button at the top or bottom of the window.
- For more information on translating text fields and changing the language displayed to the user, see Custom Translations.
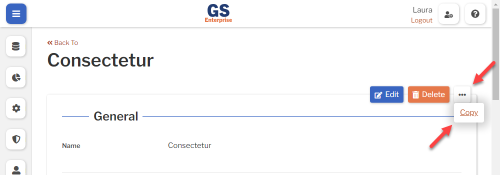
Copying a Process
- You can copy a Process — including all of its settings — to a new Process name.
- To copy a Process:
- On the list of Processes, select the View button for the Process you want to copy.
- Select the More Actions
 button and then select Copy.
- Enter a New Name for the new Process, and then select the Copy button.
- Edit any settings for this new Process.
- On the list of Processes, select the View

Using a spreadsheet to create and edit Processes
- You can use a spreadsheet (.csv file) to create or edit multiple Processes and then import them.
- This can be much faster and easier than creating or editing those Processes one at a time in GS.
Deleting a Process
- When a Process becomes inactive, you will typically Hide it in Lists.
- However, if the Process has never been used to enter data, is not assigned to any inspections, etc., you can delete that Process:
- On the list of Processes, select the View button for the Process you want to delete.
- Then select the Delete button
 at the top of the page.
- On the list of Processes, select the View