Inspection Revisions
Introduction
The Inspection Revision customizes data entry pages (Sub-Inspections) and their workflow.
For each Inspection, you will:
- Create an Inspection Revision.
- Test the Revision and make changes as needed.
- Deploy that Inspection to data entry by Publishing the approved Revision.
When you need to make changes:
- Save the current Revision as a new Revision.
- Make changes to this new Revision. Your changes will not affect the Published Revision currently used for data entry.
- Test this new Revision and make changes as needed.
- Change the Inspection's Published Revision to make it run this new Revision instead of the previous Revision.
Best practices
When designing Inspection Revisions:
- Let GS automatically set as many Traceabilities as possible. This reduces the amount of time needed to enter data and ensures that these values are entered correctly by every data entry session.
- You can preset Traceabilities in Users, Workstations, Characteristics, and Processes without adding Traceability Tests to the Inspection. You can also add Traceability Tests to the Inspection and preset their values. For more information, see Automatically setting Traceability values.
- Reduce data errors with these features:
-
- Restrict Text Traceabilities to a list of Preset Values, or set Text Options to limit the values that can be entered.
- Similarly, restrict Integer, Decimal, or Currency Traceabilities to a list of Preset Values, or set Integer, Decimal, or Currency Options to limit the values that can be entered.
- Use Groups to restrict Users to a smaller list of Parts, Processes, and Traceabilities that are appropriate to that Group.
- For SPC Characteristics:
-
- Set Reasonable Limits that limit the range of valid data values.
- Use Data Entry Constants to preset the beginning of each data value. The inspector only needs to enter the remaining digits to complete each value.
-
- Restrict Text Traceabilities to a list of Preset Values, or set Text Options to limit the values that can be entered.
-
Editing or Running Inspection Revisions
Using Developer Mode to test Inspection Revisions
When you are ready to test your inspection, best practice is to select the Session Settings  button and change the Script Mode setting to Developer Mode. Any data you enter in Developer Mode is specially flagged and automatically deleted after several days.
When you need to enter real data, change the Script Mode setting back to Production Mode.
First Revision of a new Inspection
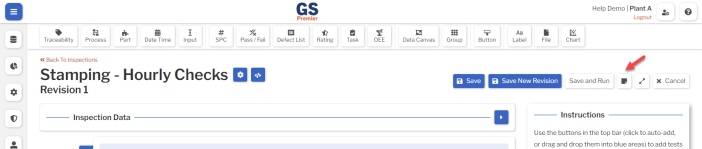
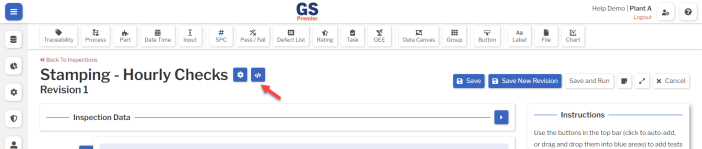
When you create a new Inspection, selecting the Save button automatically opens the first Inspection Revision in Edit mode.
When you are ready to run the Inspection Revision, select the Save and Run button.

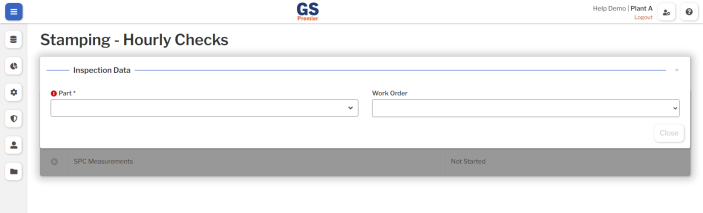
This will run your Inspection on a new browser tab, where you can see what a data entry inspector would see when running the inspection.
When you are ready to edit your Inspection again, close the new browser tab to return to the tab where you are editing the Inspection Revision.
Latest Revision of an Inspection
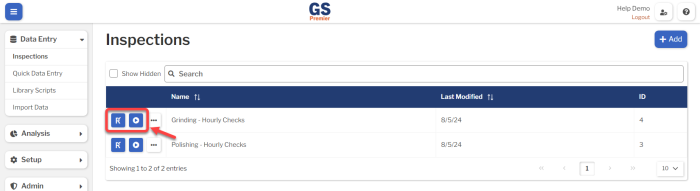
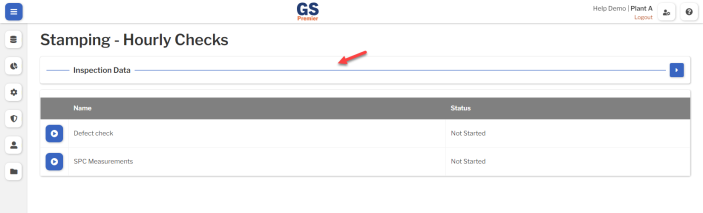
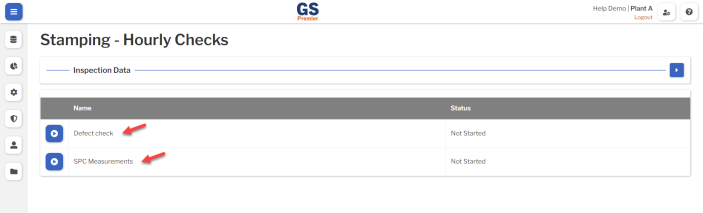
When viewing the list of Inspections, you can edit or run the most recent Inspection Revision.
To edit the latest Inspection Revision, select the Edit Revision  button for that Inspection.
To run the latest Inspection Revision, select the Run  button for that Inspection.
Previous Revisions of an Inspection
When viewing or editing the Inspection Settings, you can edit or run any Revision of the Inspection. To do so:
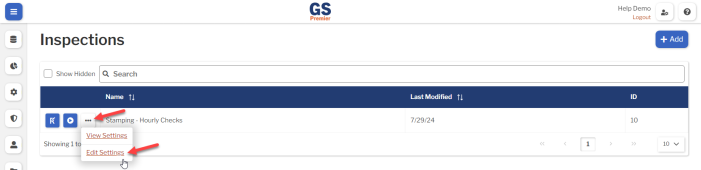
- On the list of Inspections, select the More Actions
 button for an Inspection, then select View Settings or Edit Settings.
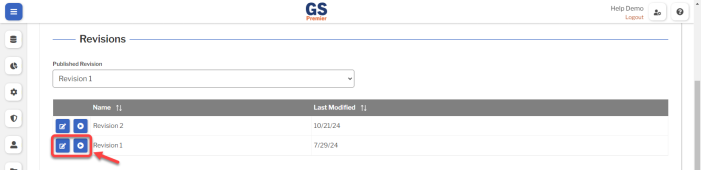
- In the Revisions section of the Inspection Settings, select the Edit Revision
 button or the Run button for any Revision.
 Use caution when editing the Published Revision of an Inspection. Any changes you save will be available to data entry inspectors.
- Please note that Saving a New Revision (below) is only available from the most recent Revision. You cannot Save a New Revision from older Revisions.
Saving Changes
When editing an Inspection Revision, you can select the Save button to save your changes to that Revision.
![]() Best practice is to select the Save button periodically while editing the Revision.
Best practice is to select the Save button periodically while editing the Revision.

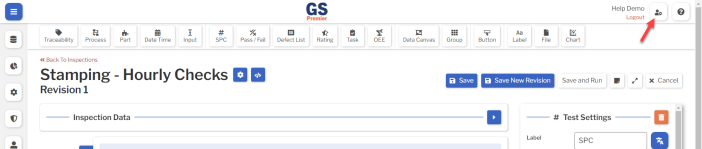
Creating a New Revision
When editing the most recent Revision, you can Save a New Revision of the Inspection. This is useful if you plan to make a major change to the Revision and need to test your changes before publishing to Data Entry.
To do this, select the Save New Revision button. When prompted, enter a new Name for the new Revision and a Note about how it differs from the previous Revision.

After testing all of your changes, you can Publish this new Revision to Data Entry (below).
Publishing a Revision
When you have an Inspection Revision that is ready to be deployed for Data Entry, you must set it as the Published Revision. To do so:
- On the list of Inspections, select the More Actions button for an Inspection, then select Edit Settings.
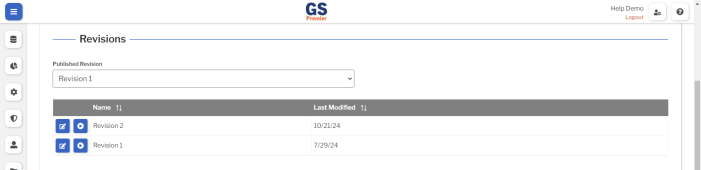
- In the Revisions section of the Inspection Settings, set the Published Revision to the Revision you want to deploy to Data Entry.
Revision Settings
Revision Settings affect how the Inspection will run. To set them, select the Settings  button.

These Settings are:
This determines whether GS requires the data entry inspector to enter a Note before submitting a Sub-Inspection, makes the Note optional, or hides the Note button.
Force the operator to enter global tags first
- When set to Yes (the default), the data entry inspector is forced to enter any required tags in the Global tag panel for the Inspection before they can interact with any Sub-Inspections.
- When set to No, the Data Entry inspector must remember to select the Inspection Data panel before submitting any Sub-Inspections.
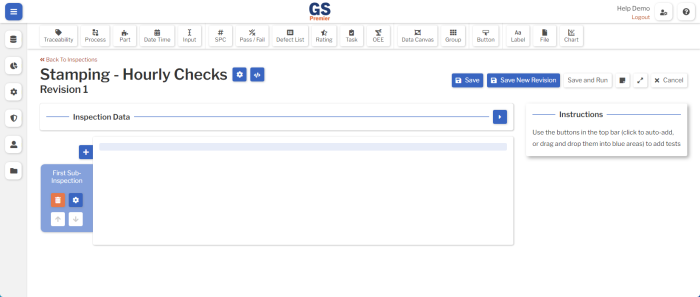
Auto-load first Sub-Inspection
- When set to No (the default), the Data Entry inspector can choose which Sub-Inspection to run first.
- When set to Yes, running this Inspection will automatically open the first Sub-Inspection for the inspector to begin data entry.
Process
If this Inspection will only be used for data from one Process, you can set it here.
When set, you don't have to add a Process Test to the Global tag panel or to any Sub-Inspections.
Part
If this Inspection will only be used for data from one Part, you can set it here.
When set, you don't have to add a Part Test to the Global tag panel or to any Sub-Inspections.
New Test Layout
When you add a new Test to the Global tag panel or a Sub-Inspection. this setting determines its default width and placement on the row of Tests.
UI Mode
If the data entry inspector has to scroll down to complete all the Tests on the Sub-Inspection, you can make all of the Tests shorter by changing this setting to Compact mode.
Customizing with JavaScript
You can use JavaScript to further customize this Inspection. To do so, select the Scripts  button.
For details, see Inspection Scripts.
Revision Notes
You can add and view developer notes by selecting the Note  button.